
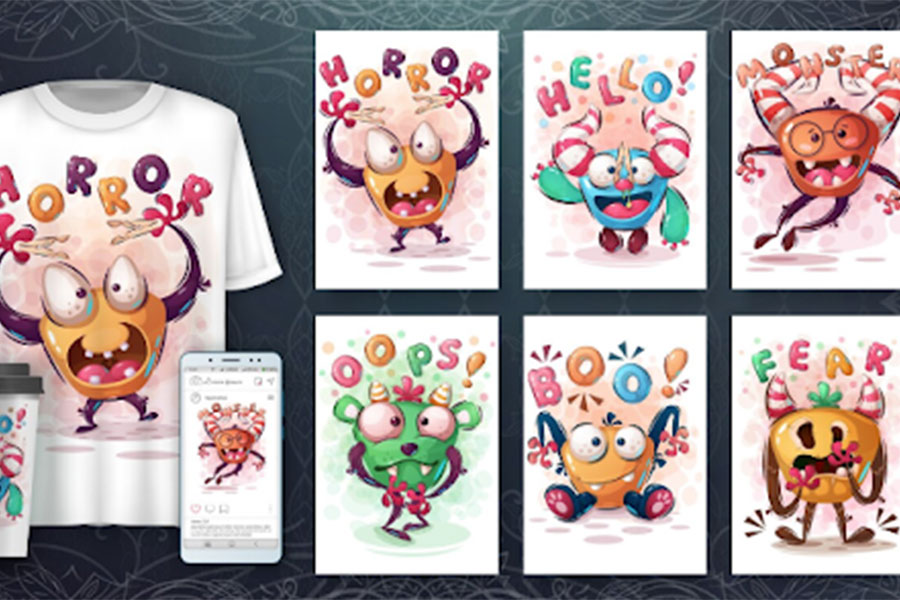
With the advancement in technique and technology, the printing world has seen a 360-degree turn. Gone are the days when designers had their hands tied because of printing limitations. Now, with DTF (direct-to-film), customisation has taken the printing world by storm. This versatile technique transfers intricate and beautiful designs onto materials like fabrics, wood, metal and even phone cases.
In this guide, we are going to delve into the secret of achieving photorealistic prints using DTF technology. You will be equipped with the techniques and knowledge to create amazing results.
The Foundation of the Print
A solid foundation will promise a photorealistic design. To get a good foundation you need to start with a high-resolution design. The design file is the foundation on which you will build your empire. If the foundation is not strong or perfect, whatever material you will use, the building will not be safe. A lower resolution will give a poor result whereas a higher resolution will result in a more vivid, sharp and bright picture.
Pro Tip: Never settle for anything less than 300 DPI (Dots per inch). Nothing below this will allow you to get a photorealistic print.
Next, use a high-quality DTF printer and ink. Compromising on the ink quality can lead to patchy designs. Special DTF inks are formulated specifically to create photorealistic prints. They have a comprehensive colour gamut that ensures vibrant results and a smoother colour transition.
Process – Pretreatment till Heat Pressing
Equipped with the right tools, you can go ahead and start the process of DTF printing. There are different materials in the world. The prerequisites for each material are also different. Some need pretreatment and some don’t. If the material you are working with needs pretreatment it is important for proper ink adhesion. Moreover, it should be done to ensure colour vibrancy.
Otherwise, the print will not come out sharp. In this step, all you need to do is apply a specialized solution to the particular fabric to ensure that ink absorption is improved. Your DTF ink or film supplier can tell you whether your fabric needs it or not.
Next, optimize the settings of your DTF printer. Some parameters that you can play around are as follows:
- Resolution: Your printer resolution must match the resolution of the design file for perfect results.
- Ink Drop Size: A smaller ink drop size results in a smoother gradient and sharper details.
Pro Tip: For dark-coloured fabrics, always use a white underlay. This will make the design vibrant and prevent it from being overshadowed by the darkness of the fabric.
Lastly, heat pressing is the final touch that will help make your design into reality. Here, precision is the key. Each material and DTF film has specific settings of pressure, temperature and time that should be followed to get optimal results. If done properly, there will be no smudging or blurring. Avoid removing the DTF film too quickly. Wait for it to cool down for a perfect DTF transfer. This will allow you to get the required DTF printing.
After heat pressing, some DTF inks require a final step of curing. This increases wash resistance, and print durability and helps solidify the ink on the fabric.
Wrapping Up
DTF printing has opened new doors when it comes to photorealistic prints. It has unlimited potential and you can use it for creating eye-catching phone cases, personalised gifts, stunning wall art to vivid t-shirts.
Goat Transfers is leading the industry by offering high-quality output at the most affordable prices. Hundreds of customers vouch for the flexibility, vibrant colours, excellent longevity and top-notch quality of our DTF gang sheets and transfer sheets. Let’s connect to get down to work!